Appearance
Video Sources
To display content in FluentPlayer, you must first define where your video file is hosted. FluentPlayer supports a wide range of hosting environments, from simple WordPress uploads to professional streaming services.
To configure your video source, navigate to FluentPlayer → Media in your WordPress dashboard and click Add Media.
Supported Video Sources
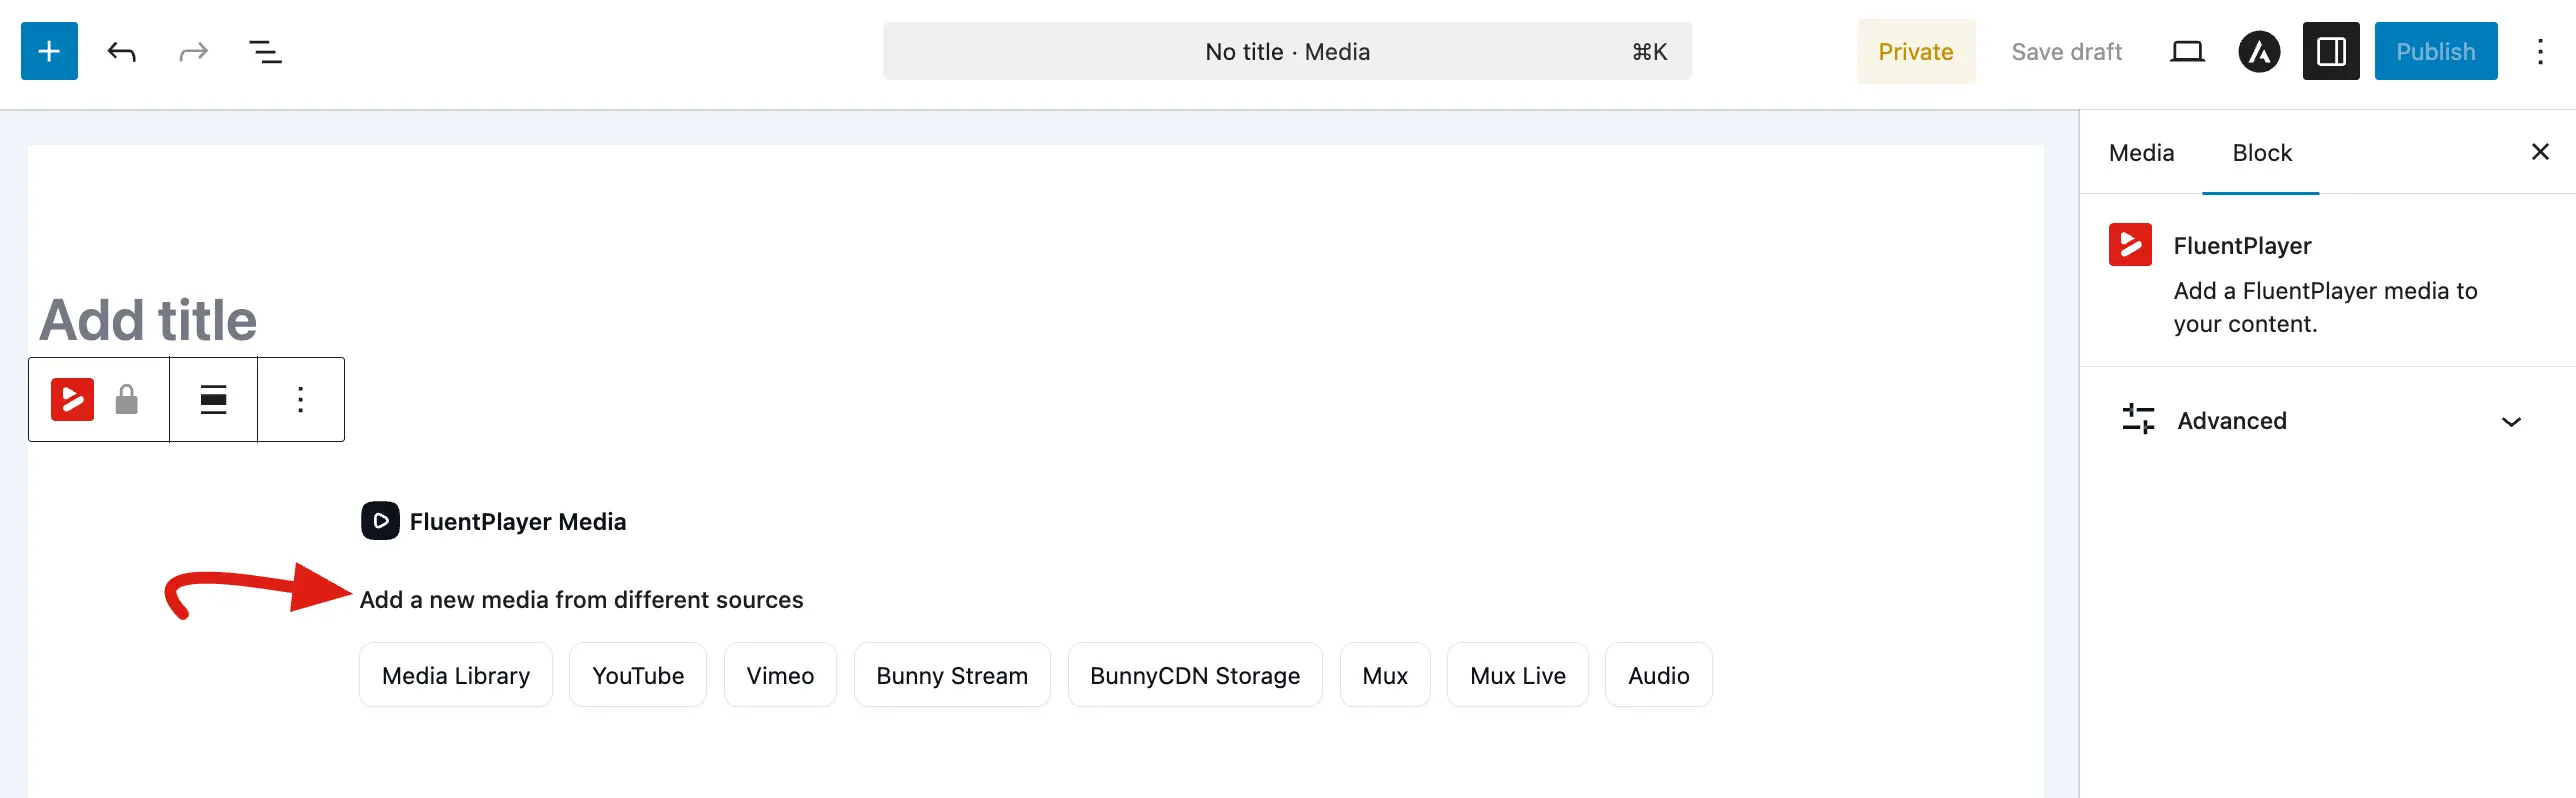
1. WordPress Media Library
Upload a video file (like an MP4) to your WordPress Media Library and select it as the source. This is the simplest option if you have smaller videos and your hosting can handle the bandwidth.
- Best for: Small videos, simple sites, or when you want everything stored on your own server.
- Setup: Select the "WordPress" option in the source section and pick a file from your library.
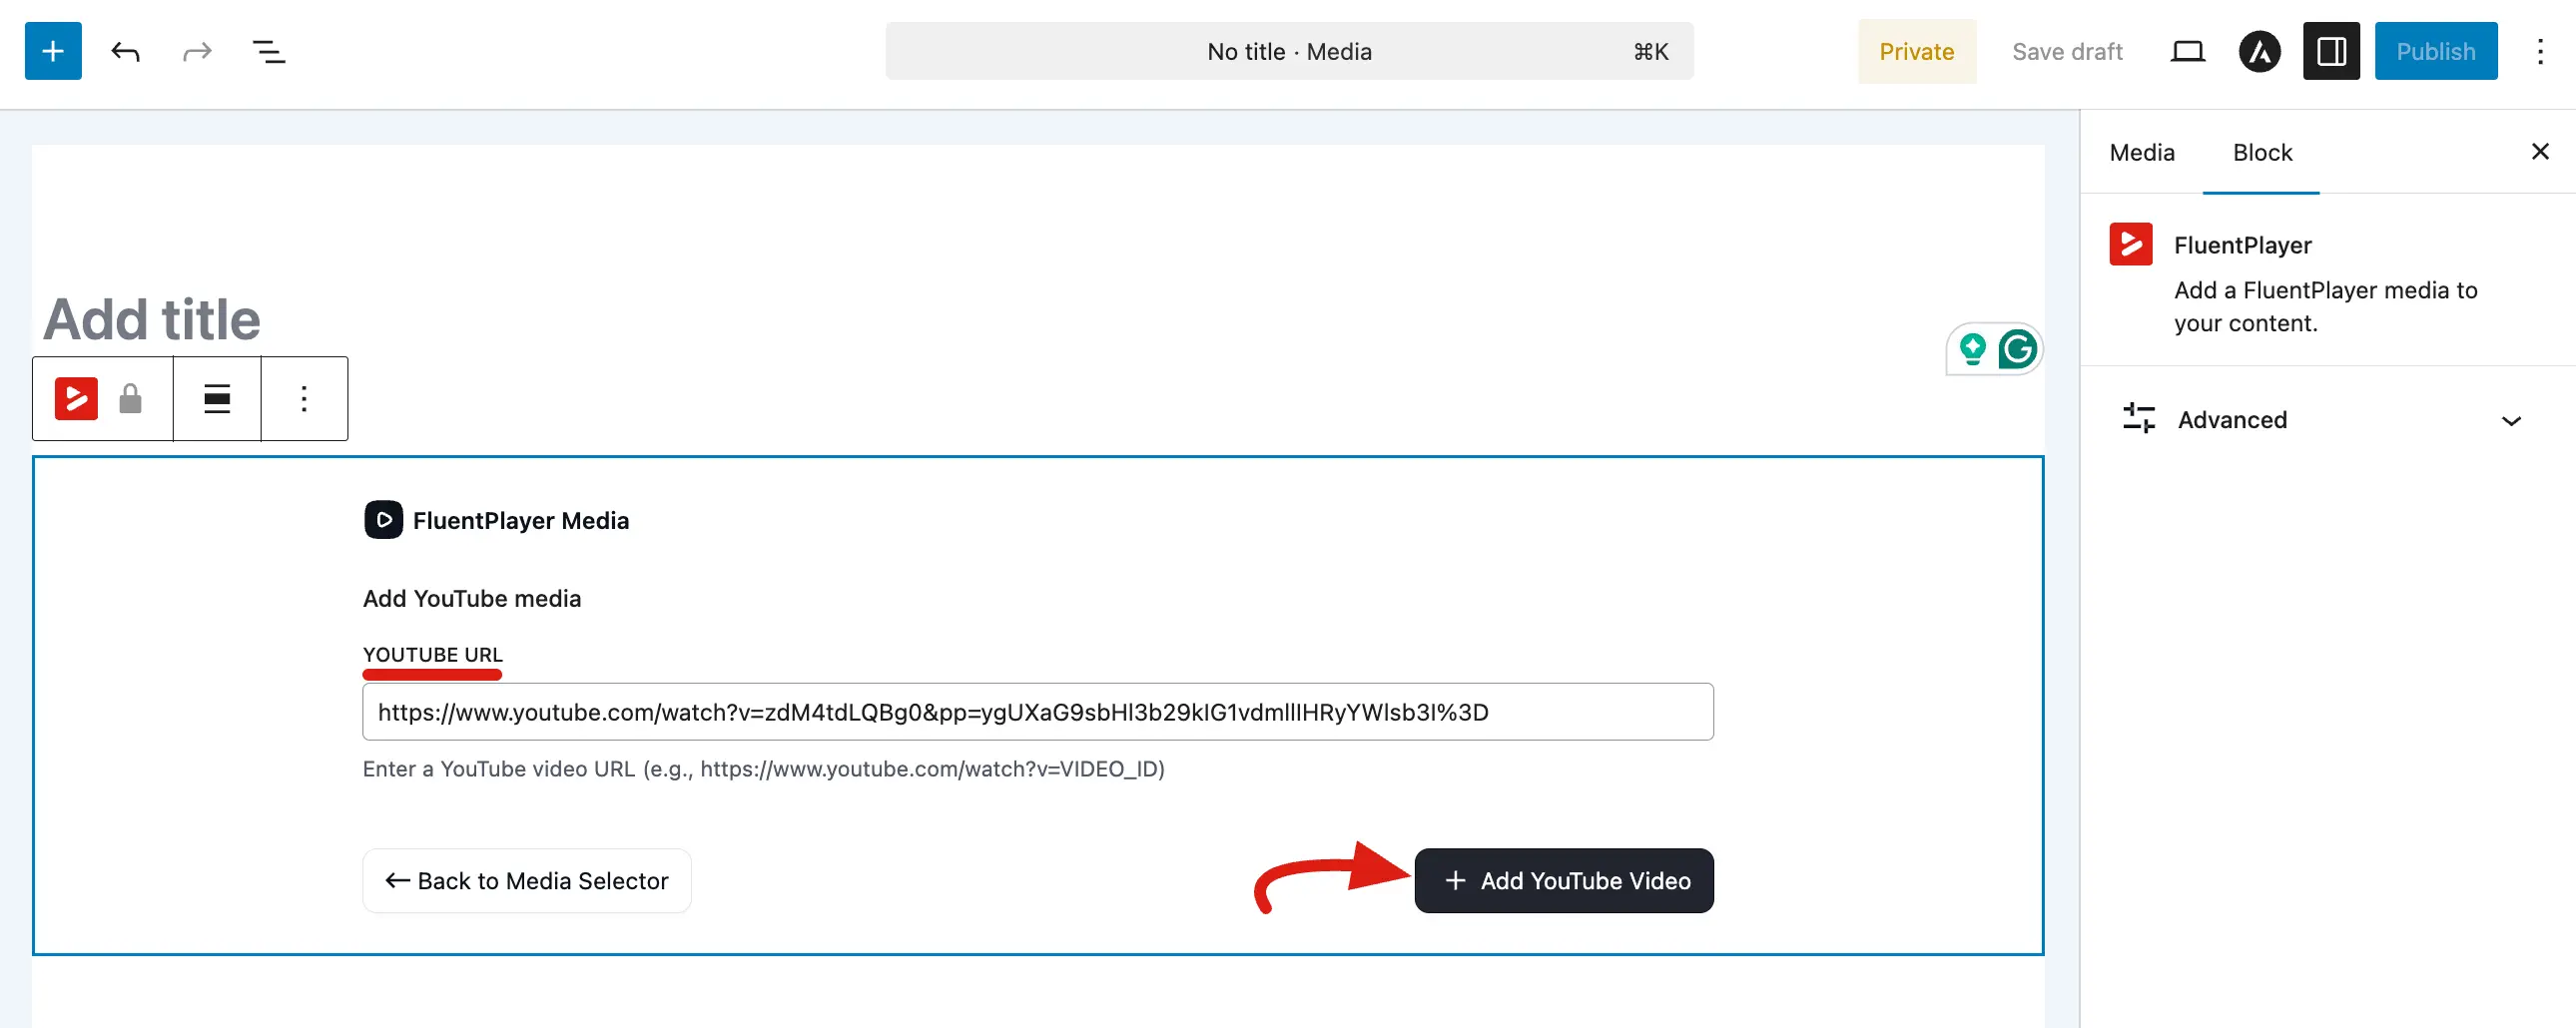
2. YouTube
Paste a YouTube video URL. FluentPlayer will use the YouTube embed player with your customized settings on top.
Example:
https://www.youtube.com/watch?v=Dc1hCvKk8WQ&tFluentPlayer offers YouTube-specific options in Settings:
- Privacy mode: Uses YouTube's privacy enhanced mode so cookies are not set until the viewer clicks play.
- Subscribe button: Optionally shows a YouTube subscribe button on the player.
Best for: Videos already hosted on YouTube, or when you want YouTube's free hosting.
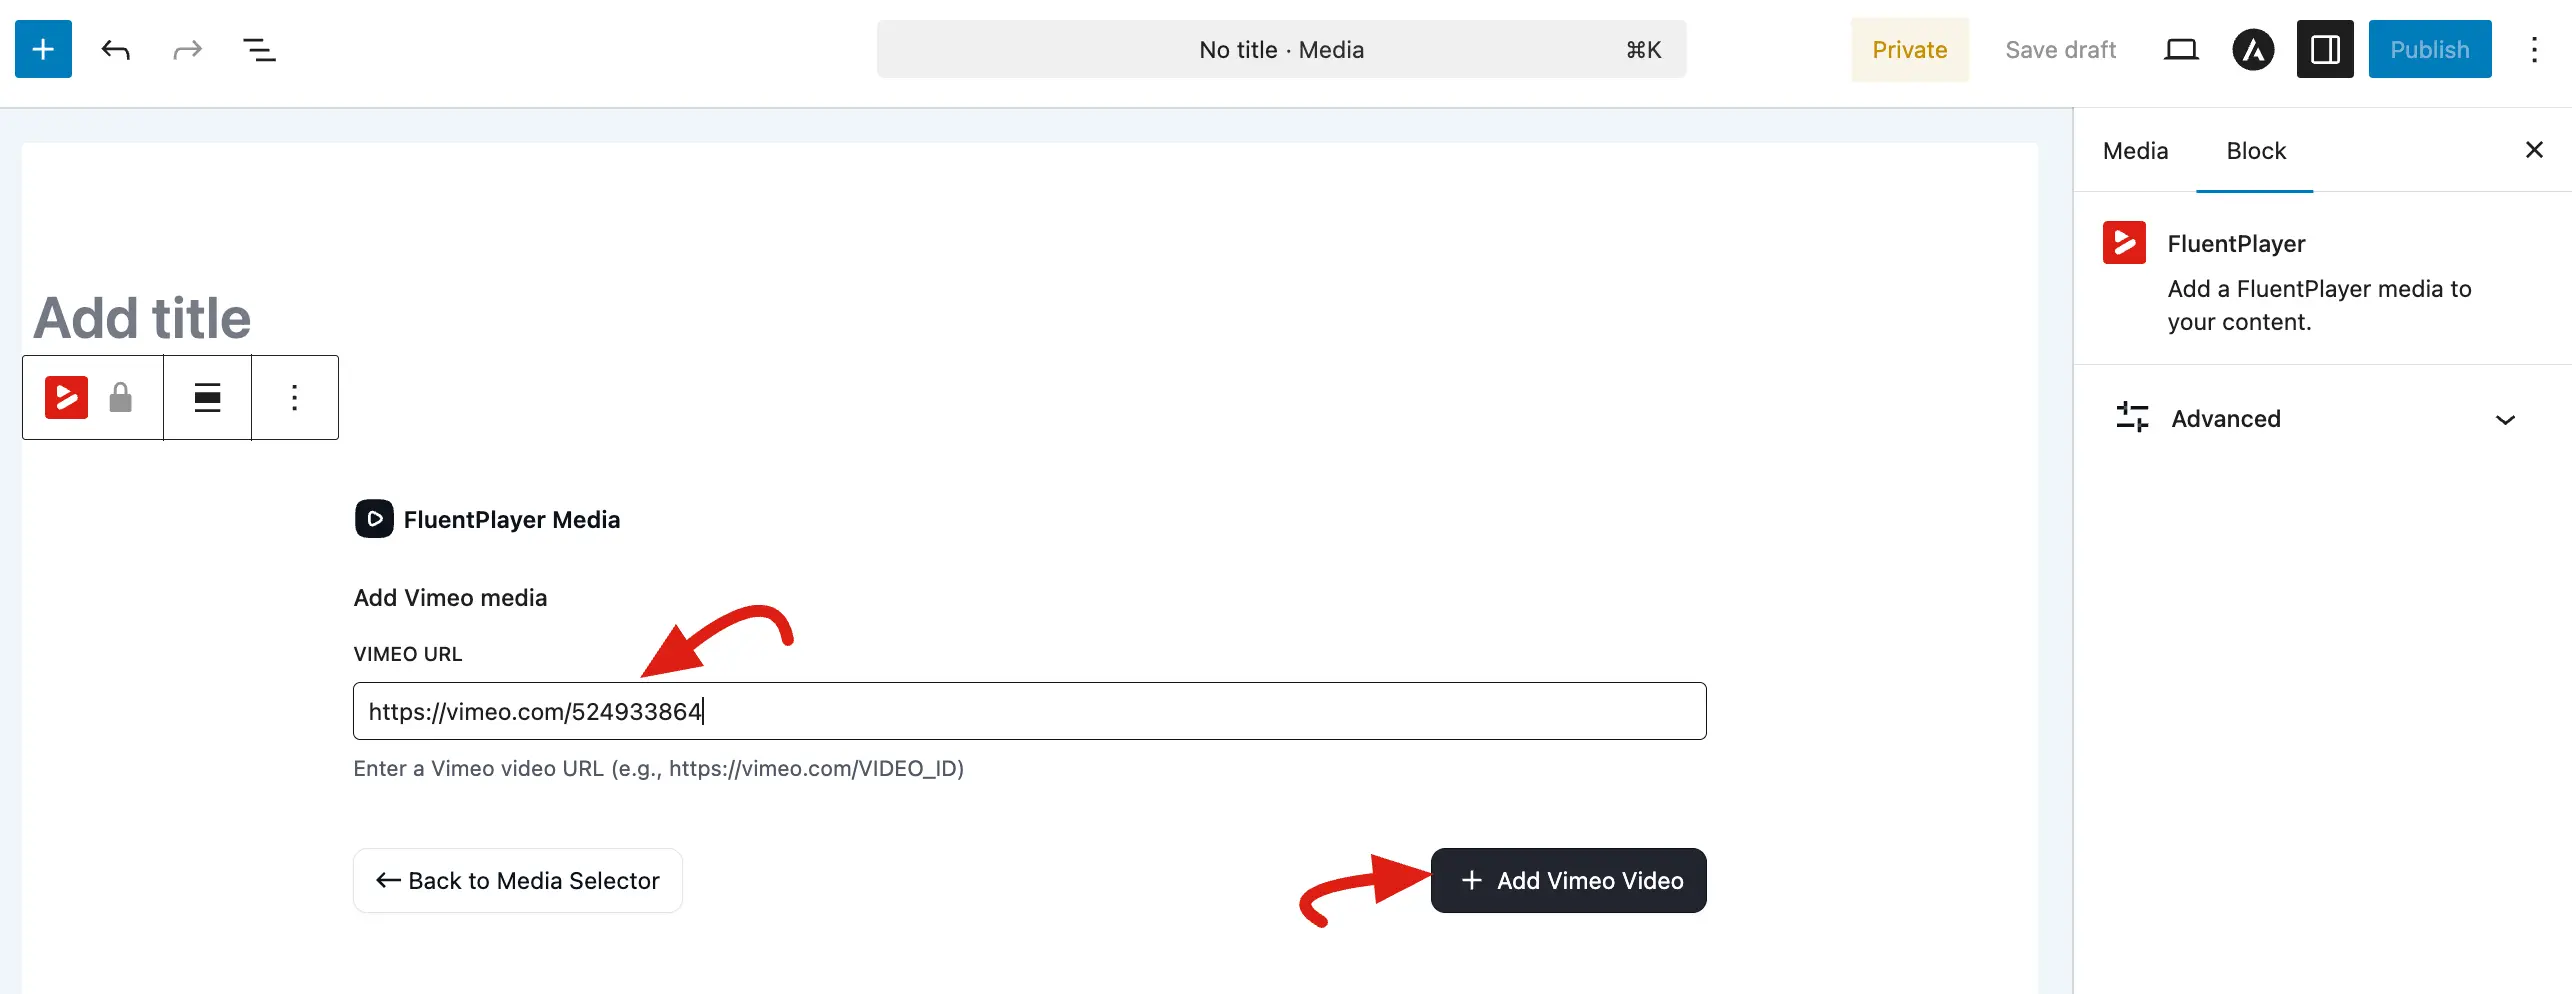
3. Vimeo
Paste a Vimeo video URL. FluentPlayer treats Vimeo as a first-class source type (validation allows viewType: vimeo in media settings) and loads the Vimeo player with your FluentPlayer styling and options where applicable.
Example:
https://vimeo.com/123456789Best for: Professional hosting on Vimeo, portfolios, or when you already use Vimeo for delivery.
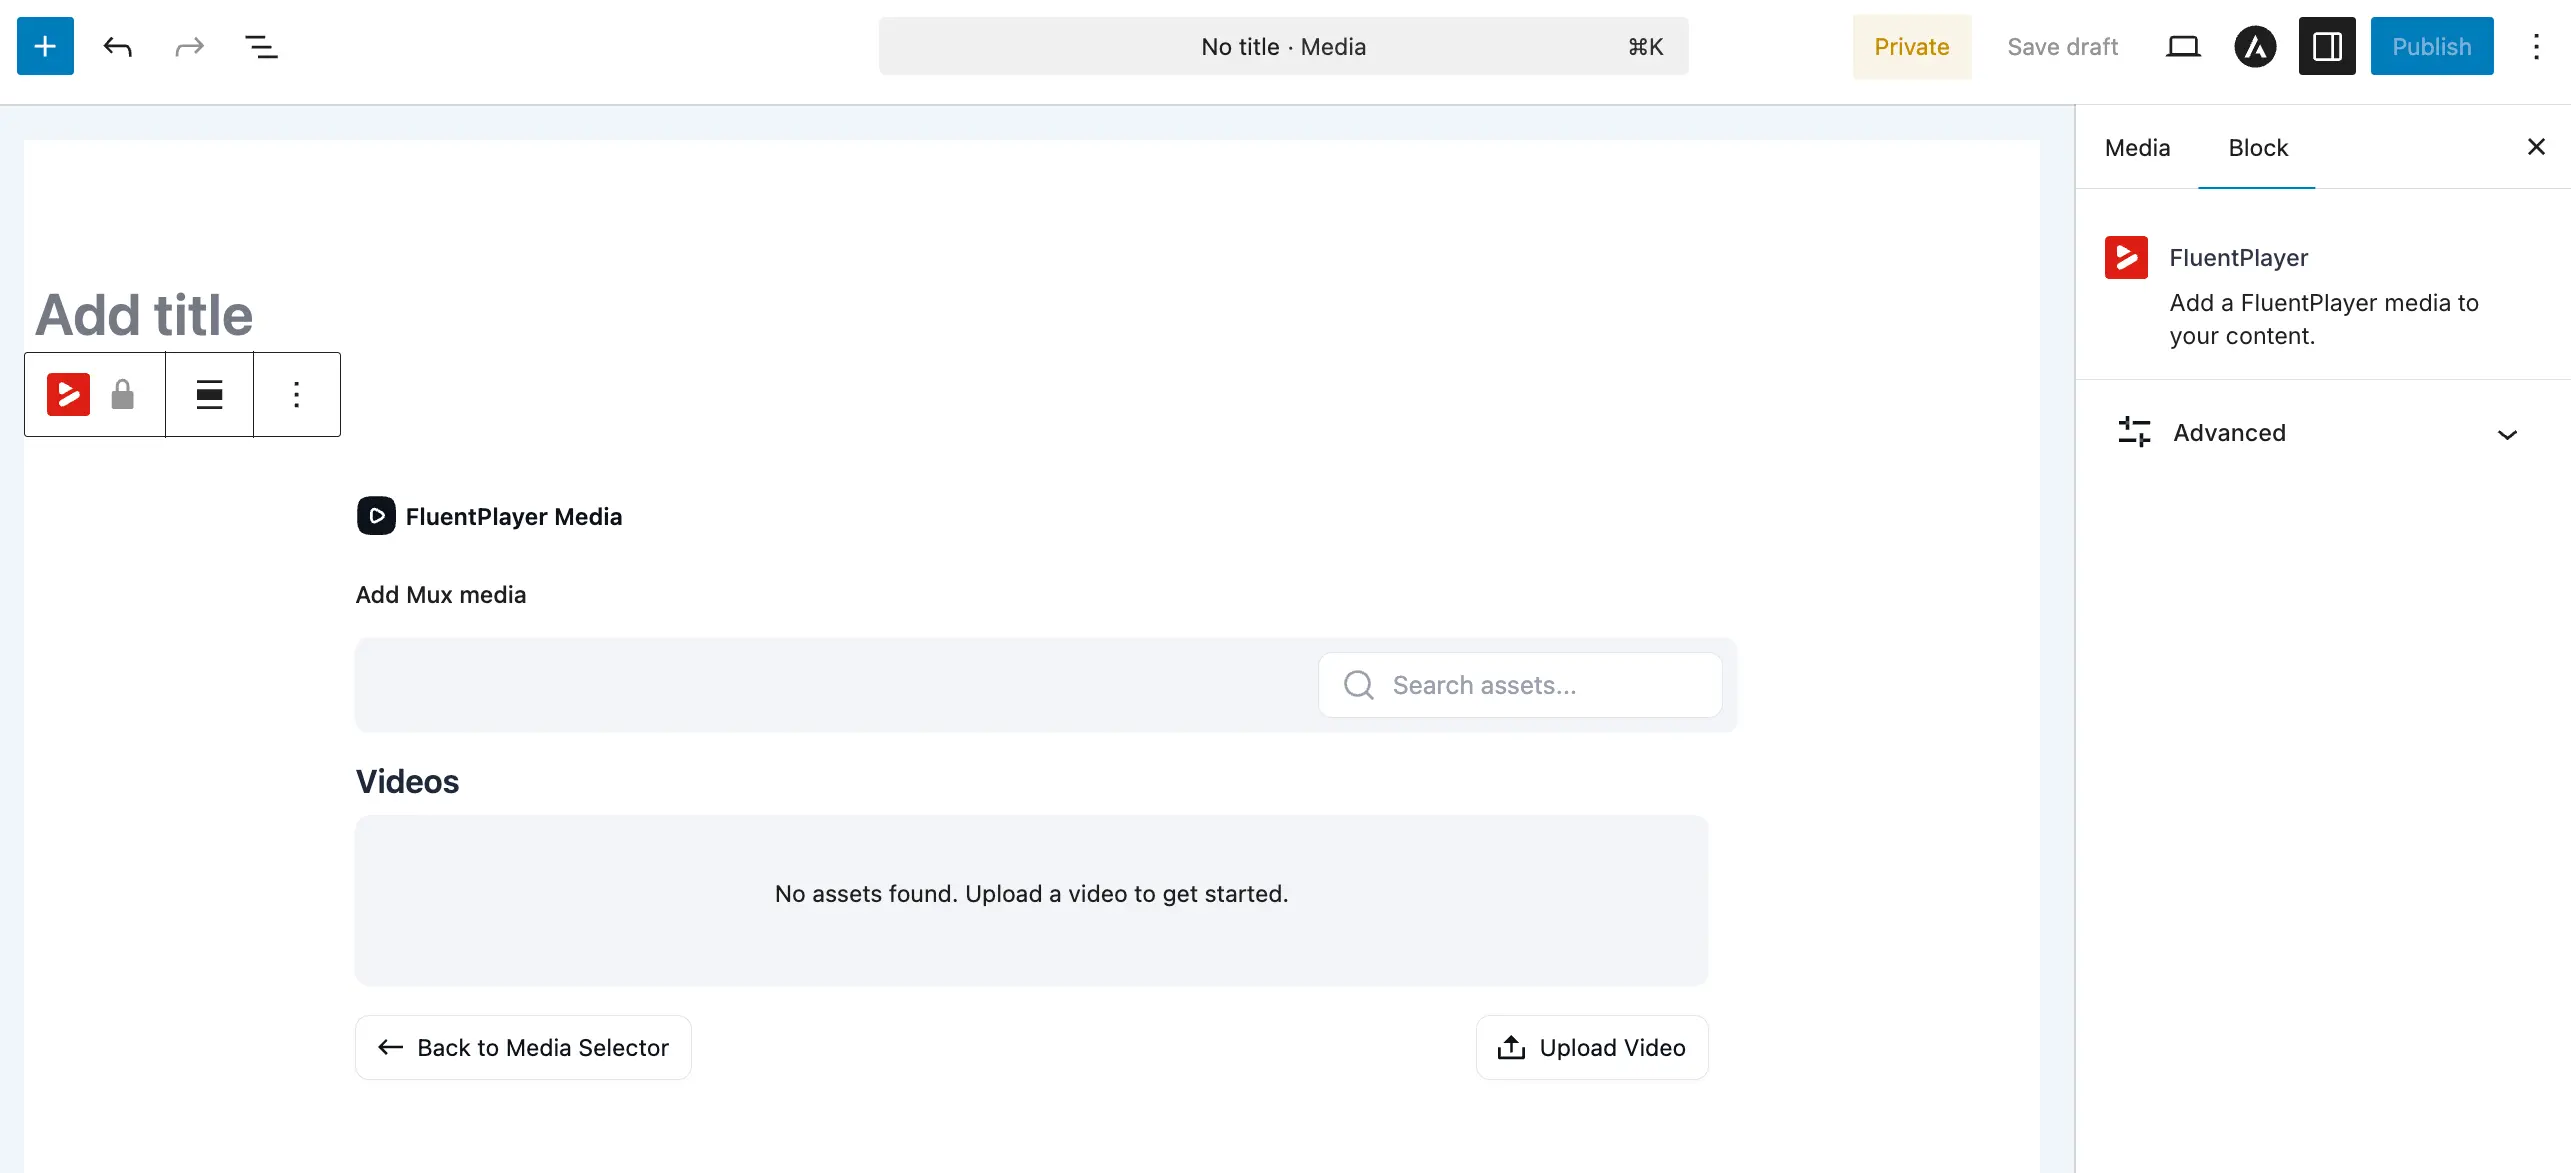
4. Mux and Mux Live (Pro)
In the block editor, Mux and Mux Live appear as separate source buttons: Mux for standard on demand assets and Mux Live for live streams.
With FluentPlayer Pro, you connect your account under Settings → Storage (BunnyCDN Stream, BunnyCDN Storage, and Mux rows each have Configure). Features include HLS playback, uploads, optional Signed URLs, Webhooks, and optional AI-generated captions for on-demand content.
When a stream is configured as Live, the player shows a LIVE badge in the control bar (typically a pulsing indicator plus “LIVE” text) so viewers know they are watching a live broadcast.
Best for: Teams that want Mux Video API workflows, adaptive streaming, or live streaming from Mux.
See the full guide: Mux (Pro).
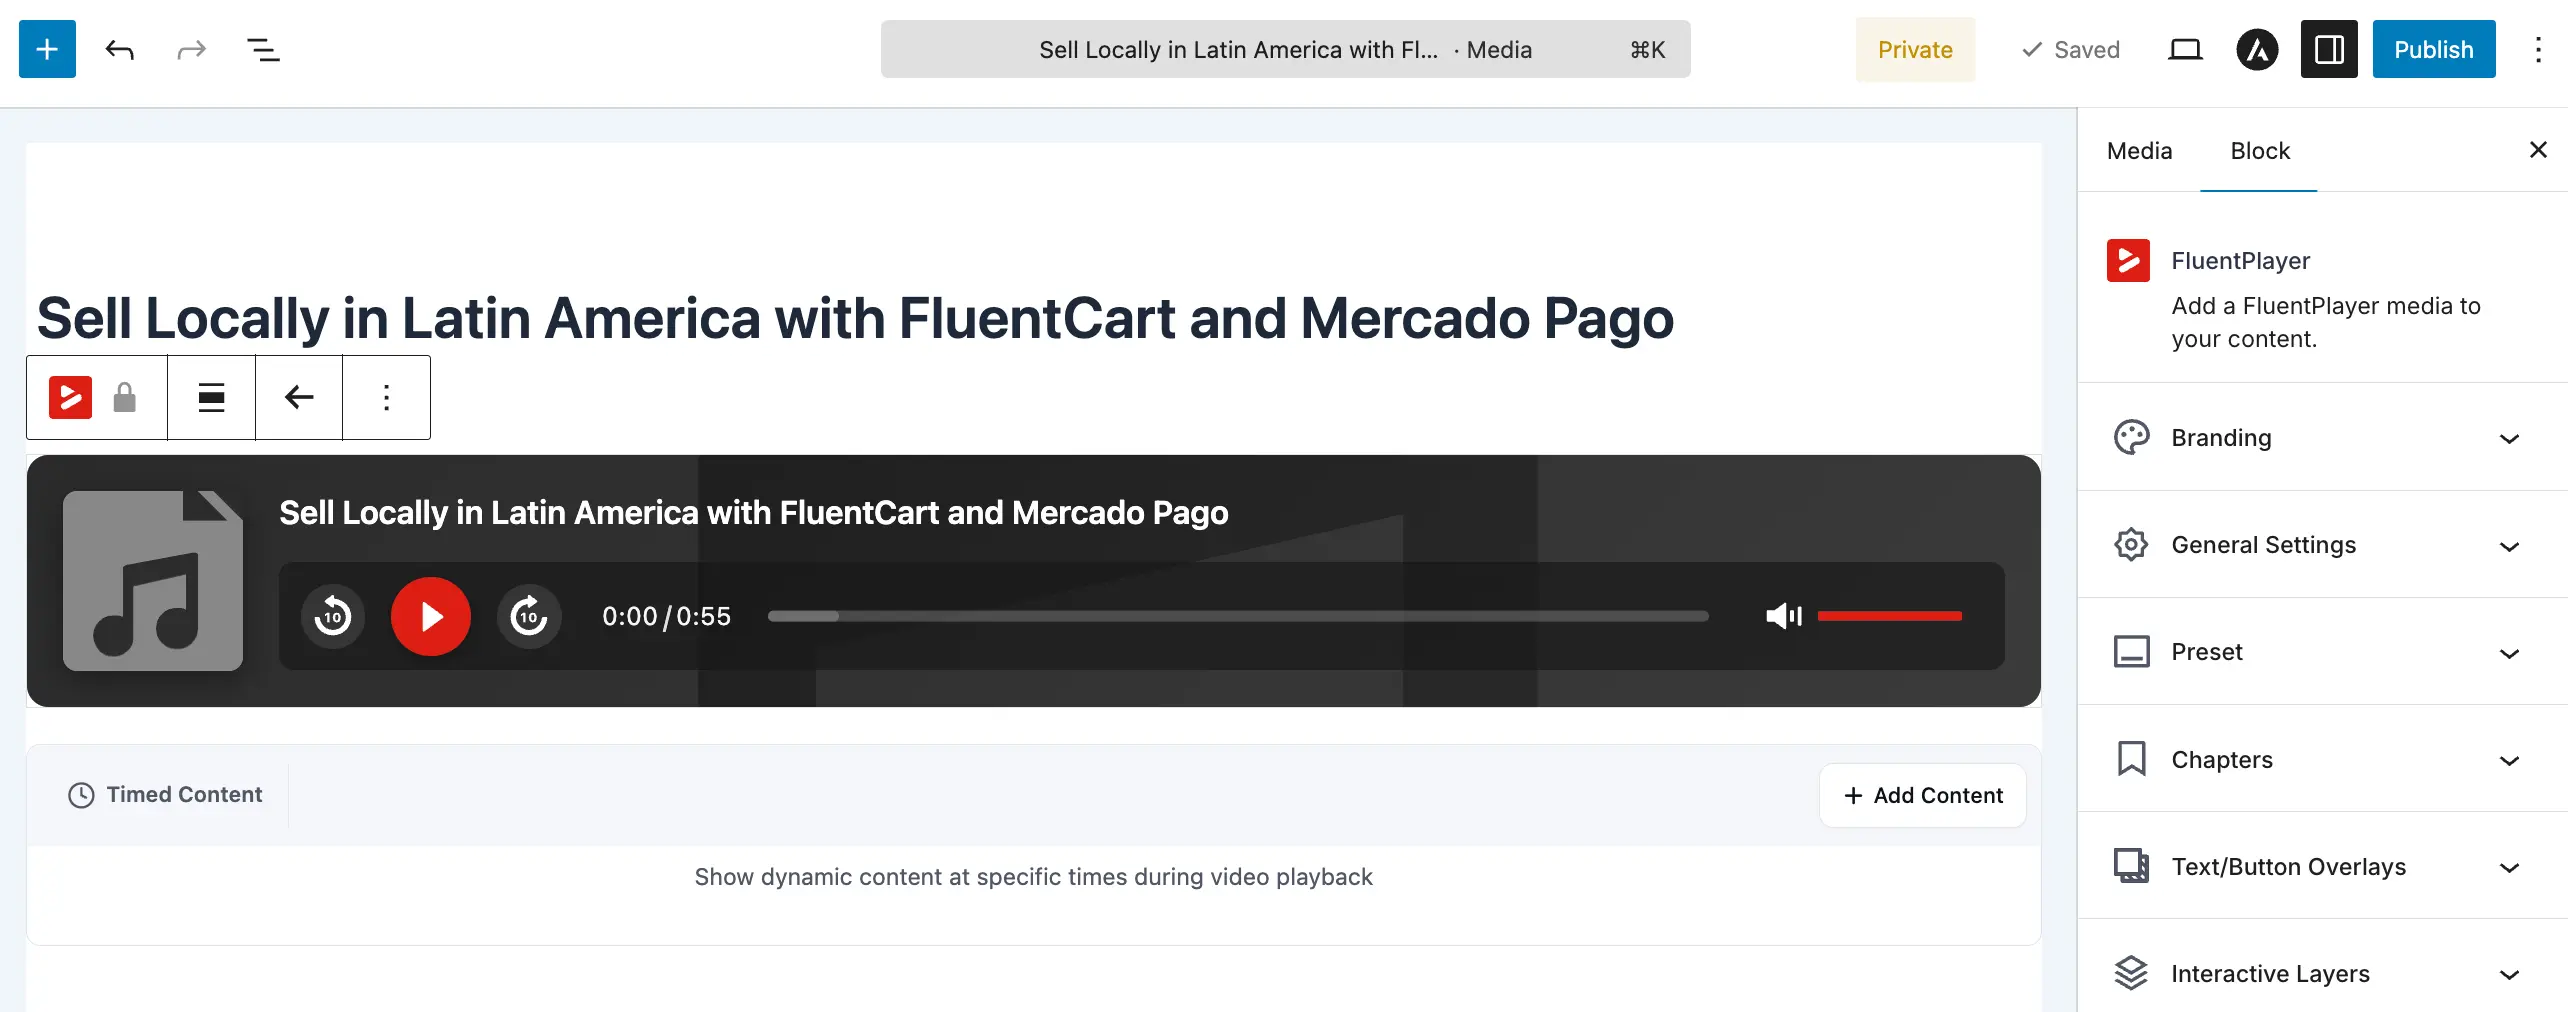
5. Audio
Some FluentPlayer builds expose Audio in the block or media source picker for audio-first media (podcasts, music, voice-only files). Backend support includes audio-oriented player views.
If you do not see Audio in your version, use an External URL or hosted file to MP3/M4A as your workflow allows, or check release notes the dedicated Audio entry may be gated by version or still rolling out.
When available, use the same FluentPlayer → Media workflow as video; the player adapts to the media type you choose.
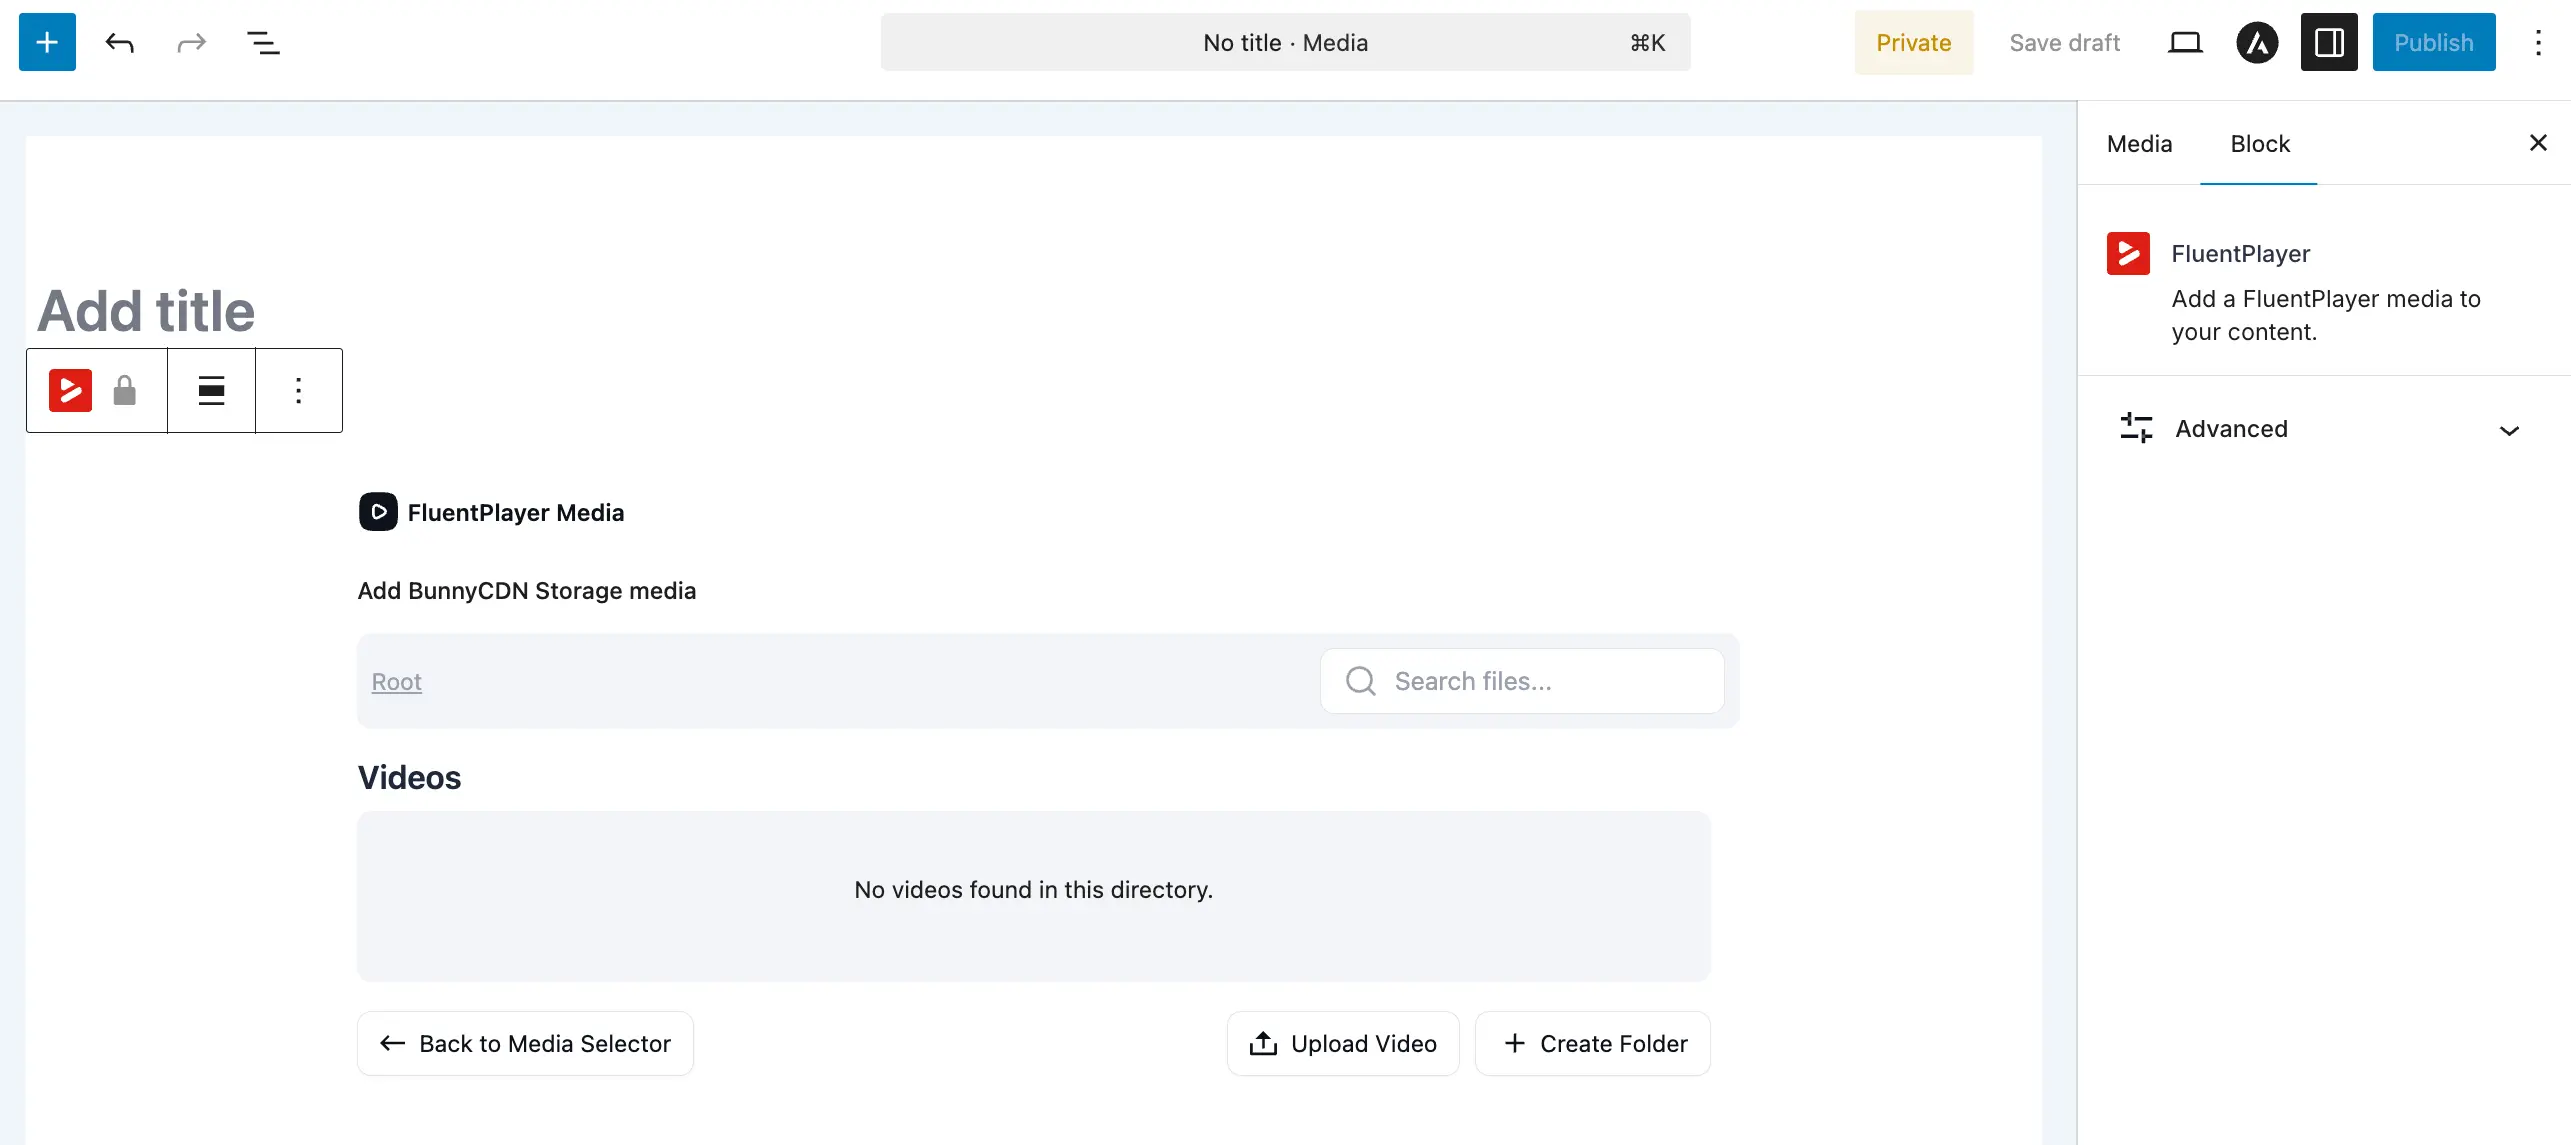
6. BunnyCDN (Pro)
With FluentPlayer Pro, you can connect to Bunny CDN for professional video hosting. There are two options:
- BunnyCDN Stream: Use Bunny's video streaming platform. You manage libraries and videos on Bunny, then select them in FluentPlayer. See BunnyCDN Stream.
- BunnyCDN Storage: Use Bunny's storage zones to host video files. Upload and manage files directly from WordPress. See BunnyCDN Storage.
Best for: Sites with lots of videos, high traffic sites, or when you need fast, reliable CDN delivery worldwide.
How to Set the Video Source
- Go to FluentPlayer → Media and create or edit a media item.
- In the media editor, look for the Source section.
- Choose the source type (WordPress, URL, YouTube, Mux, or BunnyCDN when using Pro).
- Enter the URL or select the file.
- Save the media.
TIP
You can change the video source at any time without breaking existing embeds. The shortcode and block reference the media ID, not the video URL. So if you swap the source URL, every page that embeds this media will automatically show the new video.