Appearance
Settings Overview
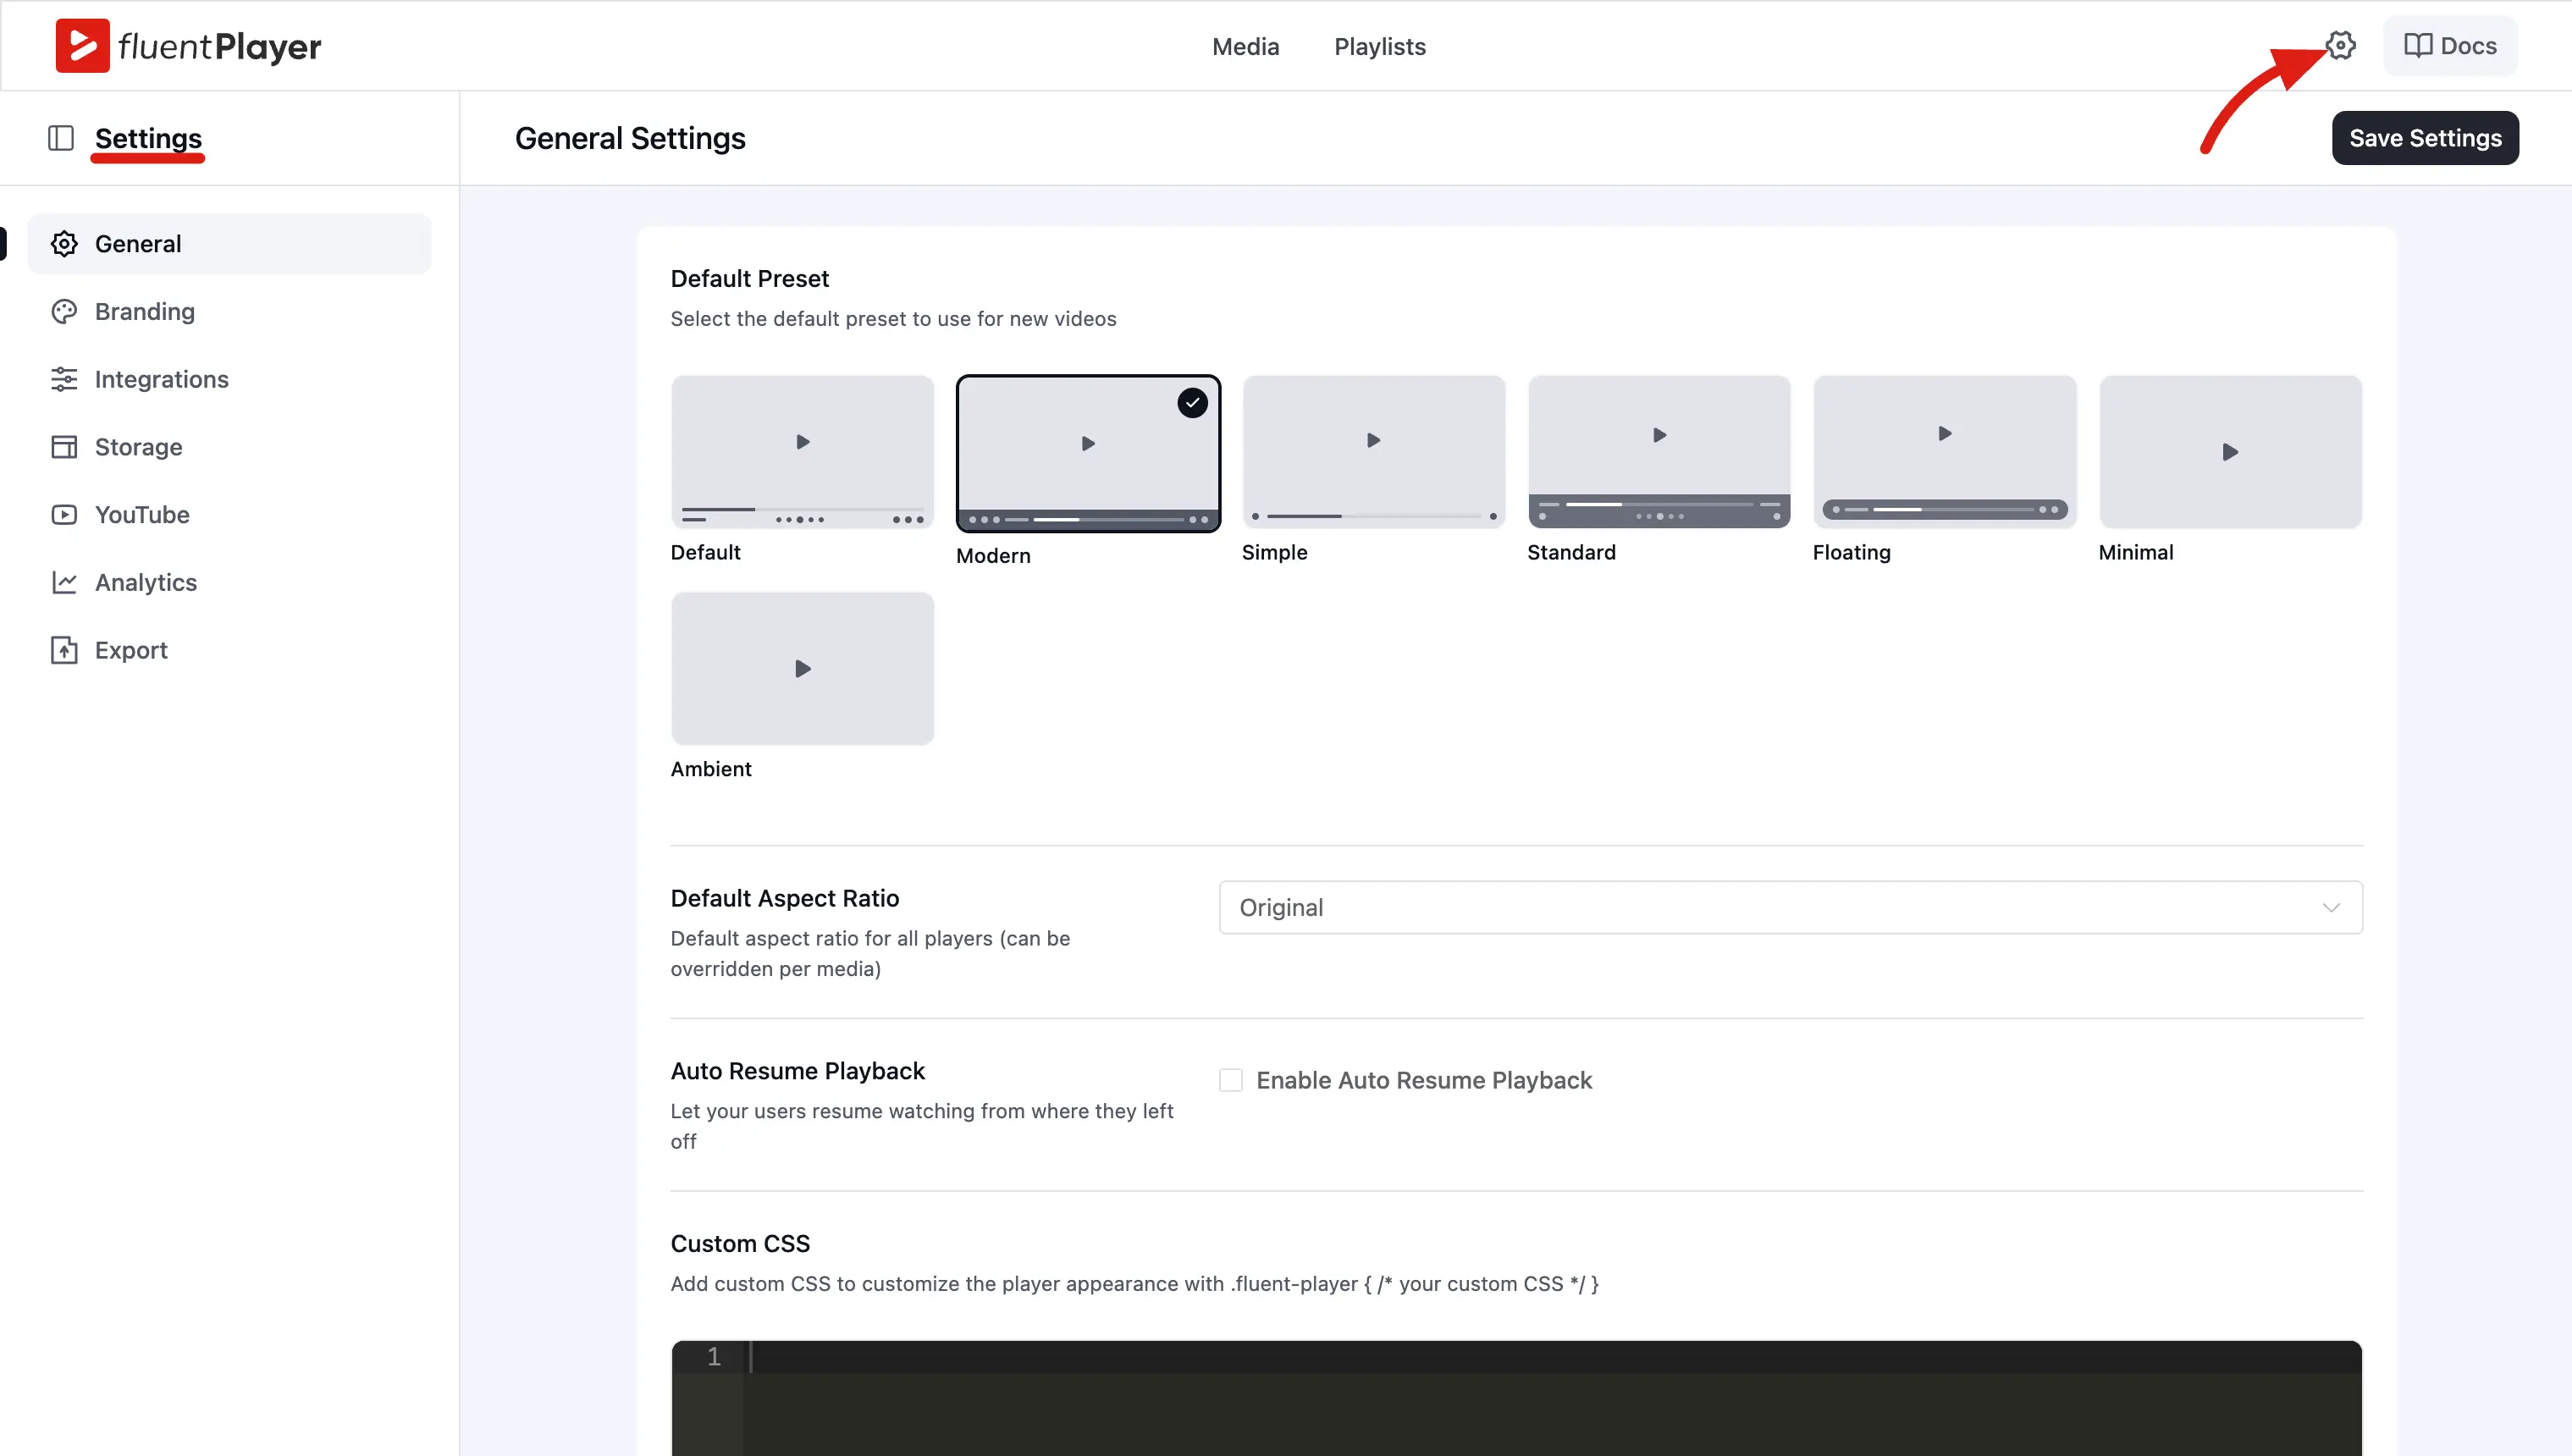
The Settings screen is the global control panel for FluentPlayer. All site-wide defaults — branding, storage integrations, analytics, email providers, and more — are configured here.
How to Open Settings
- In your WordPress admin, go to FluentPlayer (or FluentPlayer Pro) in the left sidebar.
- Click Settings — either the gear icon in the plugin header bar, or the Settings item under the FluentPlayer menu in the WordPress sidebar.
- Use the inner settings sidebar (on the left of the settings screen) to switch between sections.
Settings Sections
| Section | What it covers |
|---|---|
| General | Default preset, aspect ratio, auto resume playback, custom CSS |
| Performance | Dynamic JS loading, AJAX progress — tuning how player scripts load for page speed |
| Branding | Brand color, control bar color, logo image, logo link, logo position, logo width — with a Live Interactive Preview |
| Integrations | Email/lead capture providers: FluentCRM, Webhook, Mailchimp |
| Storage | Video hosting connections: BunnyCDN Stream, BunnyCDN Storage, Mux |
| YouTube | Privacy-enhanced mode, Subscribe button for YouTube sources |
| Analytics | Built-in FluentPlayer Analytics and Google Analytics (two separate tabs) |
| Export | Download captured email submissions as CSV, JSON, or ODS |
Pro vs Free
Storage and both Analytics tabs (FluentPlayer Analytics and Google Analytics) require FluentPlayer Pro. Export is available on the free plugin. The free plugin shows fewer sections, and the settings sidebar only displays sections relevant to your active license.
Settings vs Per Media Overrides
Settings control global defaults. Many options can be overridden at narrower scopes:
| Scope | How to access |
|---|---|
| Global (Settings) | FluentPlayer → Settings |
| Preset | FluentPlayer → Settings → General → Default preset (edit a preset) |
| Per media | Edit a media item in the FluentPlayer → Media editor |
| Per block | FluentPlayer block sidebar in the Gutenberg editor |